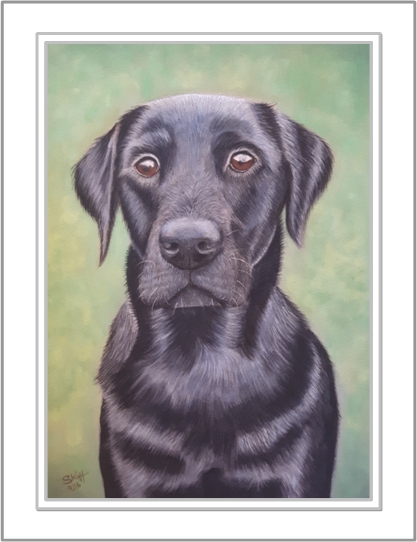
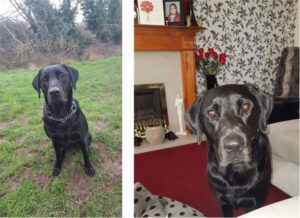
I was asked to paint Murphy who is a nearly 3 year old beautiful black Labrador by his mummy Ness. Ness sent me a number of digital photos to choose from including a studio photo of when he was a puppy. You would think that a studio photo would be an excellent choice but this is often not the case because the lighting is very bright and there are no interesting shadows – this is especially important because Murphy is black – the hardest colour to paint. In the end I chose an outdoor photo with good lighting. This image wasn’t ideal on it’s own because the quality was poor but I combined it with another photo where I could get all the details.
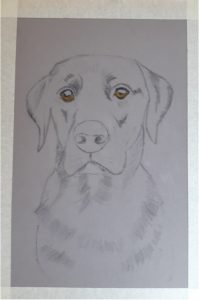
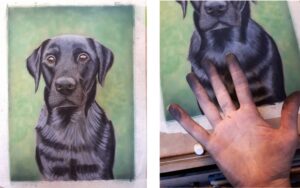
My first job is to sketch the outline, I then transfer it onto the Velour paper that I use for animal portraits. Velour paper has a very short pile to it like a carpet almost which mean the pastel layers can be built up and give a 3D effect and look just like fur. It’s better to sketch first then transfer to Velour because you can’t rub out easily.
I can’t resist painting Murphy’s eyes first – he’s so adorable! I use a mixture of high quality pastel pencils for this because pastel sticks are too big and bulky for such a delicate and important task. At this point I check with Ness to make sure she is happy – that she can see it is Murphy in the drawing.
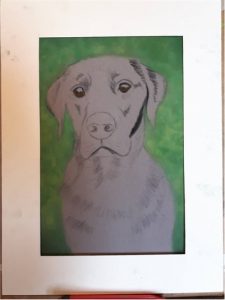
Next I paint the background, this is so I can build Murphy up in layers. He is outside in the main photo I’m using so a blurred green background is ideal – I can do detailed backgrounds if preffered but often my customers want their pet or child to be the main focus of their painting. I’ve used a white mount here just to see how he will look once framed.
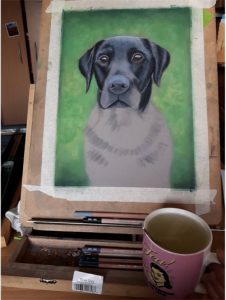
With the background complete I start working on Murphy’s ears then face using the more detailed photo to get the direction of the fur correct. My trusty Lemsip is in the photo as I’m just getting an end of summer cold!!
Now I can paint Murphy’s coat which is going to be a messy job – lots of shades of black with my trusty Unison pastels (I only use the finest pastels for supreme light fastness). I start with the base coats in the direction of the fur as you can see in the photo below, the detail is added after. This is another stage where I check with Ness that she is happy with progress – I like to have very happy customers so it’s really important for me to send progress shots.
Finally I add the tiny highlights that really make Murphy shine – highlights to his eyes and nose and coat. And here he is already to be posted. Velour is delicate – very delicate so I pay careful attention to packaging – now. I’ll let you into a little secret… I painted Murphy a while ago but he got damaged in the post using Special Delivery Service! It looked like the corner of a heavy box had landed on it as there was a triangular hole in the packaging. This went through the bubble wrap envelope, 2 layers of double thickness corrugated card, the portrait and through to the next piece of card. It must have been a heavy box! So now I package my portraits much more carefully in high density card so that something like this can’t happen again (I hope!) I received this feedback from a different customer yesterday “Framer said to tell you, it’s the best packaged pastel pictures she’s been asked to frame. And the nicest” good to know!
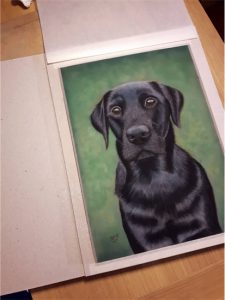 Here is a video of Murphy from my Facebook page if you’d like to see it, it’s the moment I take the messy tape off the edges – it’s an exciting moment that I’ve started filming! If you can’t see the video below, try here.
I hope you enjoyed the making of Murphy, if you’d like to commission a portrait there’s lots of information here and you’re welcome to phone me for an informal chat about your portrait. Tel: 07740 282399

