I can remember well what it was like to be a beginner to soft pastel and how confused I was by all the different materials on the market, which paper to use, which pastels and why I should use them and how to protect my work once complete.
That is why I decided to create this workshop, for all the people who really want to have a go but like me are really confused about where and how to start.
Would you like to be part of the next Introduction to Soft Pastel Workshop? Look on the Pastel Workshops page or contact me direct for the next date.
Want to join the next Workshop?
Would you like to be part of the next Introduction to Soft Pastel Workshop? Look on the Pastel Workshops page or contact me direct for the next date.
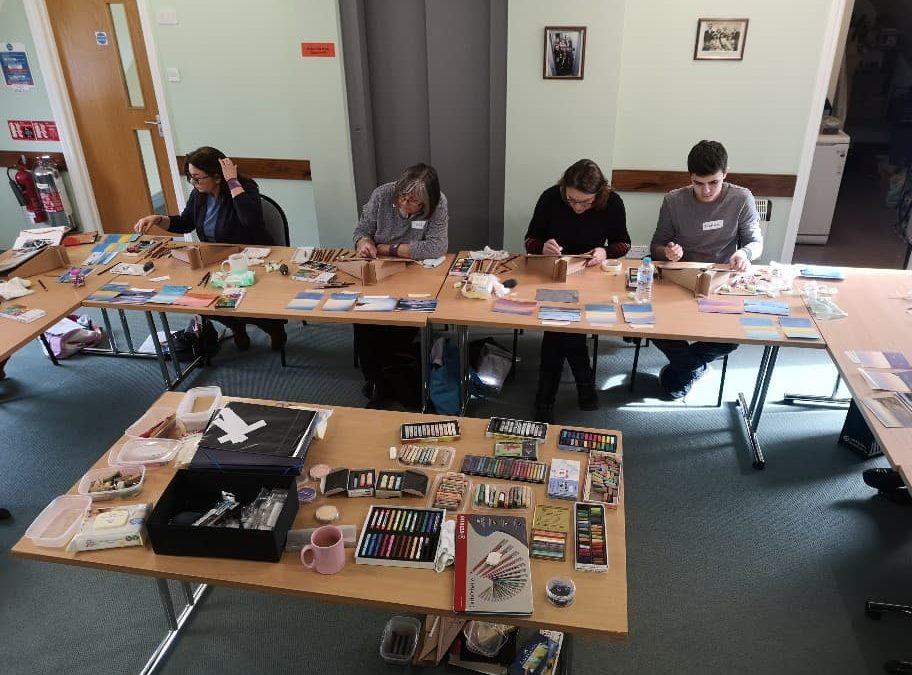
Here’s how the day went
I had lots of local students from the Waterside area, Marchwood, Hythe, Dibden and Romsey but also one person who has been following my Facebook page and came all the way from Essex! There were 12 students in total and this is the perfect number – so I can make sure I’m able to help everyone as required.

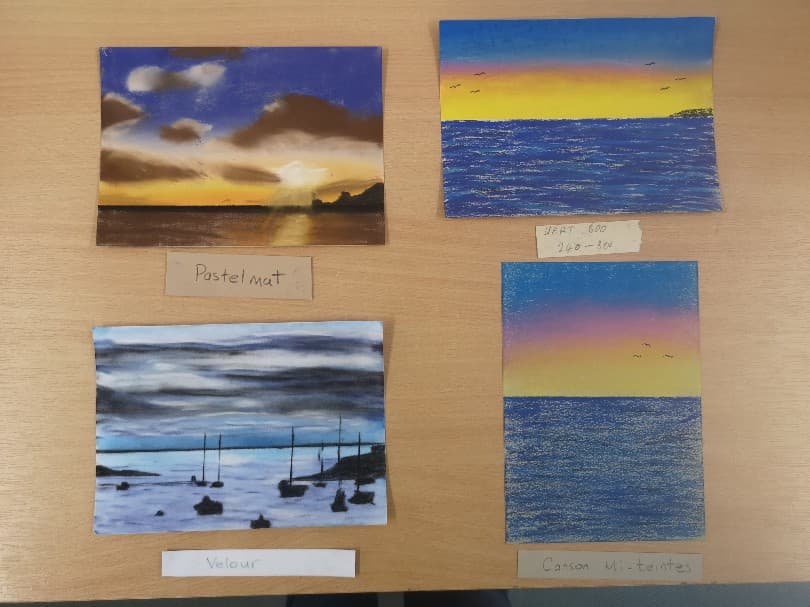
Choosing A Pastel Paper
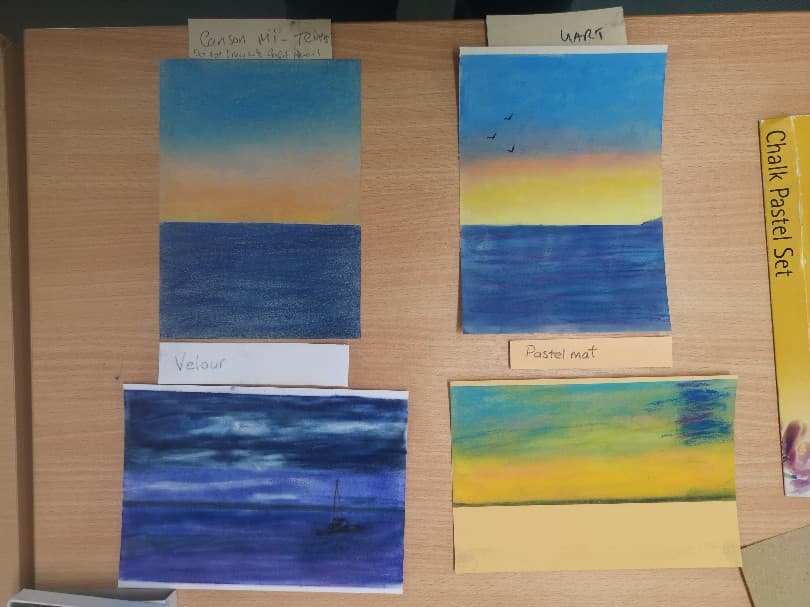
Choosing a pastel paper is an important part of the process in learning how to pastel. Sometimes it can be the difference between loving and hating the pastel medium. Pastel papers have lots of tooth or texture so the paper grabs the pastel and holds on to it. If you try pastel on smooth printer paper you’ll notice that it rubs off very easily. So initially everyone created a simple seascape on a paper called Canson Mi-teintes pastel paper. It’s a well known paper with 2 sides, a rough side like rough watercolour paper and a textured / patterned side. This was followed by another seascape on a sanded paper – akin to wet and dry paper. It’s brand name is Uart paper and is available in various grits from about 320 to 800. It’s really good at holding the pastel but can be rough on your fingers for blending.
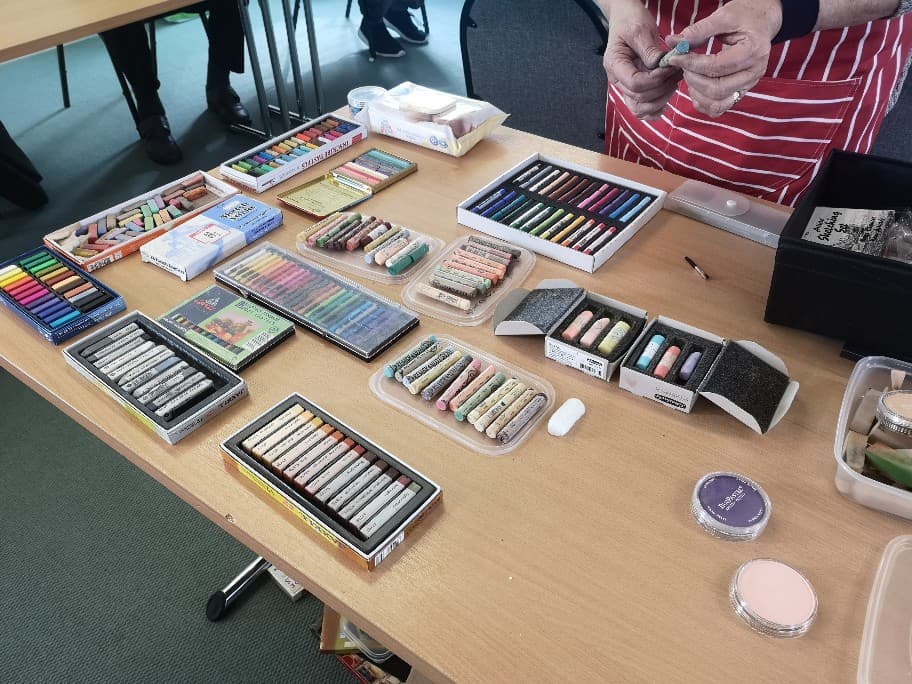
Which Soft Pastels To Use?
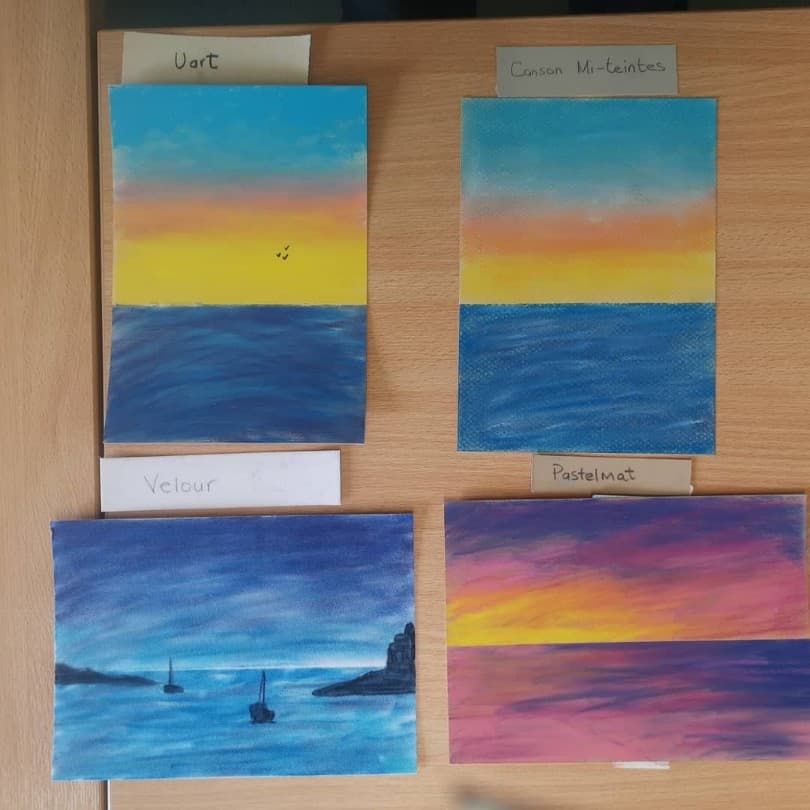
I have a large range of different soft pastels for everyone to try, there are so many pastel brands from very cheap and hard to expensive and hard and then very expensive and super soft. It’s difficult to know what to use and what to spend your money on as a beginner. Why should you buy the super soft expensive pastels was a top question. Along with the set of pastel, pencils and tools that I had for everyone, they were all welcome to try other pastels from this table. Now that we were all into the swing of how to add the pastel to the paper they tried 2 more seascapes on 2 other pastel papers using a photo reference from my stock of copyright free photographs. Everyone has their favourite paper and most have one that they really don’t like!! Here are some examples of what was produced:

The photo on the left (directly above if you’re on a mobile device is the work of not only a beginner to pastel but a beginner to drawing too. Didn’t he do well!

Some of the more experienced artists chose some exciting photos to pastel.

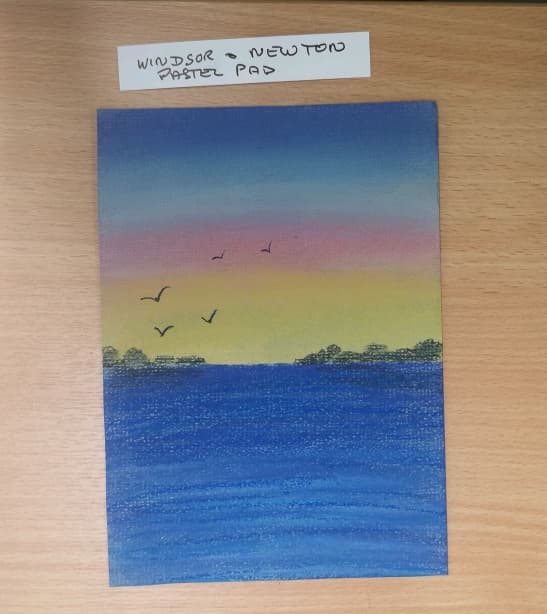
One student bought along some Windsor and Newton pastel paper (below). She found that it didn’t have much tooth/texture and she couldn’t put many layers on. She was using a set of cheap / low quality pastels so that is not to say this paper won’t work well with other pastels. Also, the paper you choose is a very personal thing, what works for one may not work for another. Luckily Art supply companies now provide trial packs of pastel paper so you don’t need to buy a whole pad. It works out a lot cheaper!
Want to be part of the next Workshop?
Would you like to be part of the next Introduction to Soft Pastel Workshop? Look on the Pastel Workshops page or contact me direct for the next date.
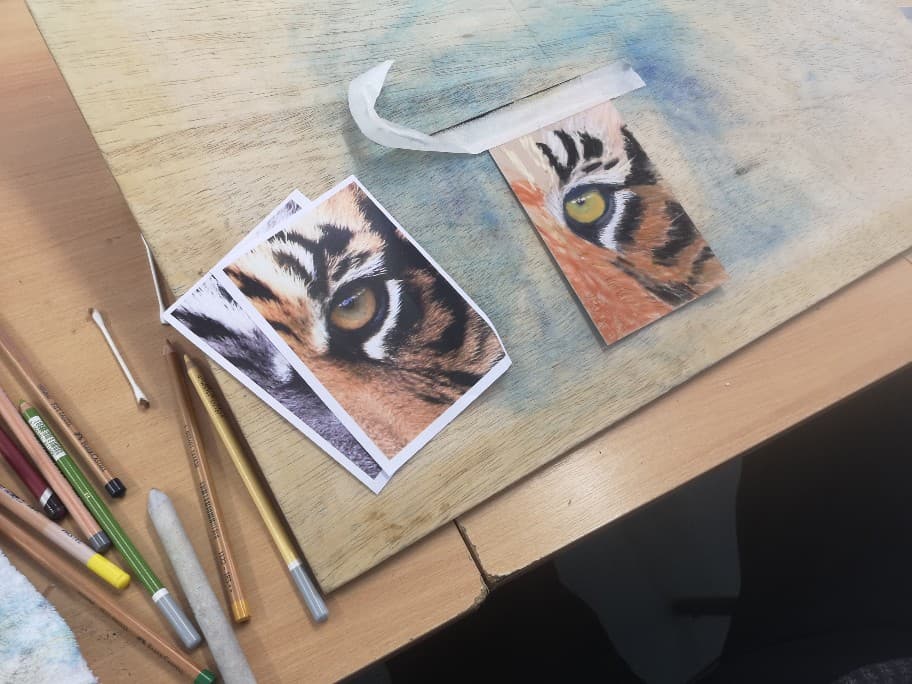
How to add details on Pastelmat
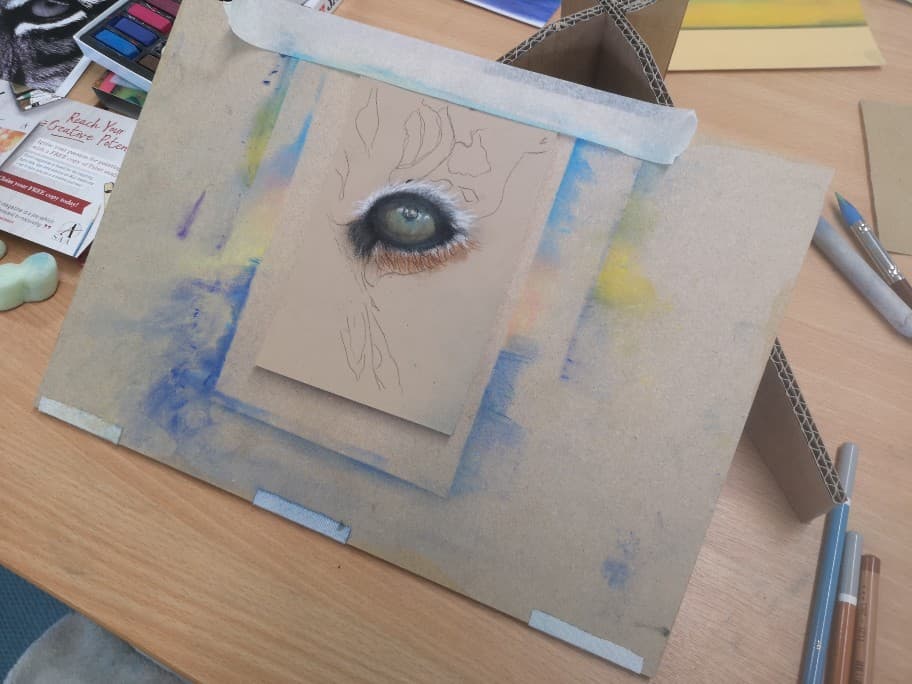
After lunch we focused on achieving details with pastel so I chose a tiger’s eye on Pastelmat. Pastelmat is a super paper for achieving crisp detail. If really hugs the pastel and gives great control. You need a lot of pastel for it to blend but you must be careful with under layers as you don’t want to fill the tooth with just under layers or the top layers will be hard to create. It’s a fine balance and needs practice – or a teacher to guide you.
Help with Drawing
I showed the beginner students who can’t draw accurately yet how to use carbon paper to transfer their drawing to the pastelmat. (It’s a much cheaper alternative to tracedown which is artist quality carbon paper) There is no point coming to a ‘learn how to pastel’ workshop and getting stuck at the drawing stage and have no time left to pastel. In my weekly classes I teach a lot more about how to draw. With a few tricks up your sleeve, drawing becomes much easier and a lot less scary.

One of my students was a 15 year old boy who came with his mum. He did really well (so did his mum!). Photo above and left or just above on a mobile device. I get a lot of interest from teenagers on my workshops because schools tend not to show children how to use different mediums, generally they leave them to explore the medium themselves.
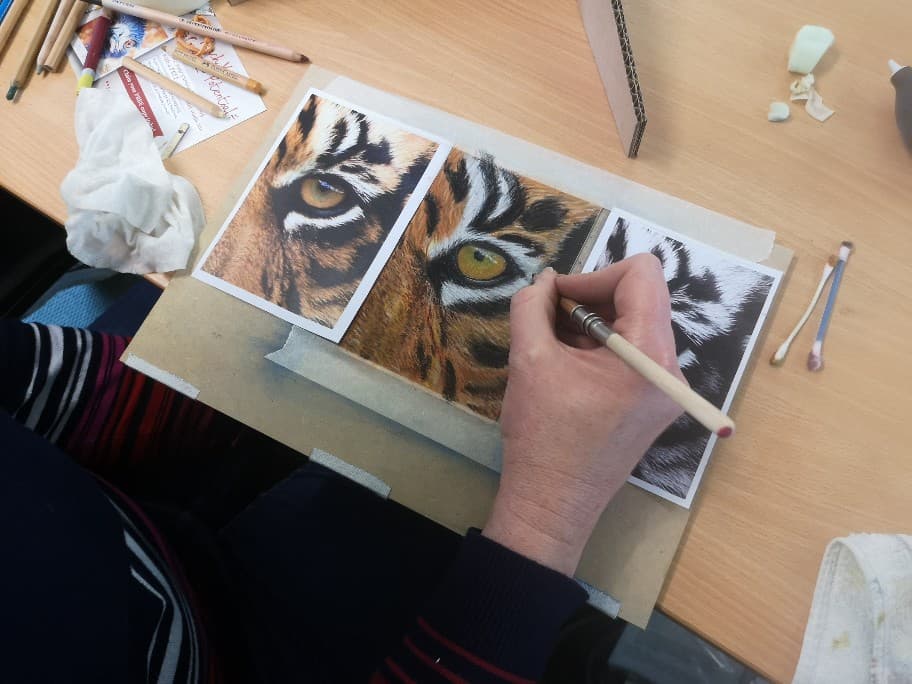

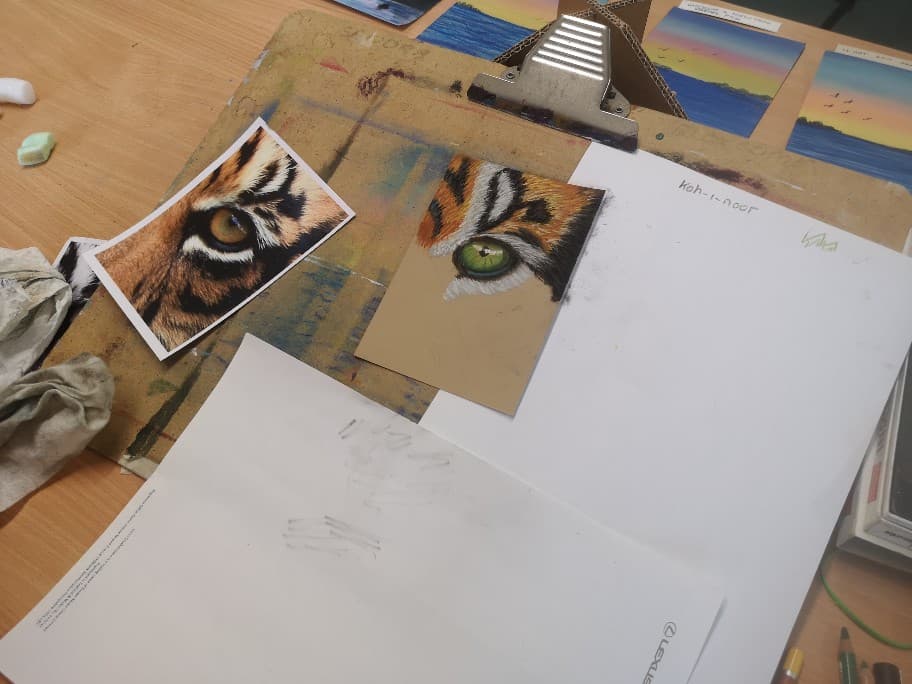
Because you can’t mix pastel like paint, my students learnt a very valuable lesson whilst the were pastelling the tiger. You’ll never have the correct colour pastel stick or pencil (well you will sometimes!!) So I gave them a black and white photo as well as a full colour photo. This way they could focus on the tones if they didn’t have the correct colour. We as individuals see colours so differently that it is almost impossible to get the correct colours for everyone. You can however mix pastel on the paper. My students had a great day. They learnt a lot and produced art work to be proud of. they gave me lots of feedback which I am allowed to share with you below.
Feedback from my students
Sue has a very nice way of putting the information across – very easy to understand. We learnt new techniques and it was a friendly atmosphere.
Relaxed, friendly, clear instructions, effective demonstrations and step by step instructions. We got to get on with our own work and there was no pressure, Sue taught us the skills to produce a good piece of art. Such a relaxed atmosphere yesterday. I wouldn’t say I’m artistic but am so pleased with the result. Amazing what you can achieve with step by step guidance.
The structure and number of demos are so good one cannot fail to learn/improve. I thought it was a great class and you ran it so well.
Comfortable and friendly, excellent explanations and demonstrations. answered all queries and relaxed teaching method. Great workshop, thanks Sue!
Sue has a very good way of putting things across which makes it easier to put into practice. I have found the workshop to be very informative and I have learned a lot.
Friendly, informative and an opportunity to have a go with no pressure. Good demonstrations, excellent supply of material. A very well prepared workshop.
Want to be part of the next Workshop?
Would you like to be part of the next Introduction to Soft Pastel Workshop? Look on the Pastel Workshops page or contact me direct for the next date.
GDPR: All images used with permission
Sue is a Soft Pastel Artist and International Tutor from England UK
She's passionate about soft pastel art and teaching her students from around the globe.
"Art makes my heart sing and my soul smile"